Sections
Creating a Shoppable Image
Using a Shoppable Image
Settings
Pro Version Options
Drag and drop dots
Custom dot styles
Custom product descriptions
Default open dot tooltip
Open all products in modal
Code Hooks and Filters
Custom Post Type Template
There are two major steps to using the Shoppable Image plugin.
- First, create a Shoppable Image.
- Second, add the Shoppable Image to a Post or Page.
Create a Shoppable Image
1: After installing the plugin and activating it, a new item will appears in WordPress admin sidebar.
2: Hover over the Shoppable Image item in the side which reveals three sub actions. These actions are; View all Shoppable Images, Add new Shoppable Image, and Settings for all Shoppable Images.

3: Click on Add New Shoppable Image you will be taken to the Shoppable Image post template where you can create a Shoppable Image using the Shoppable Image Editor.
4: Name you Shoppable Image post by adding a title. This will be how you will find your Shoppable Image when adding it to a Post or Page.

5: Click on the “Choose and Image” button, which will open the WordPress media browser modal. Here you can use the Upload Media browser as normal but uploading a new image or selecting an existing one.
6: Select the image and then click the “Select” button. This will close the modal and your selected image will appear in the Shoppable Image Editor block.
7: From here you have three choices. You can add a new dot, replace the image, or create a short code for this Shoppable Image.
Let’s add a dot.
8: Click the “Add Dot” button. This activates the Add Dot workflow. If you choose not to add a dot you can cancel out of the workflow by click the “Cancel Add Dot” button.

But we are here to create dots! Right, So, after clicking the “Add Dot” button click anywhere inside your selected image. Your click indicates where the dot is placed and clicking will open up a modal where you can search for the WooCommerce product you want to link to that dot.
9: Once the modal is open, use the search bar at the top to find the WooCommerce product to link with the dot. Once you find the product, click the “Select” button in the product card. The modal will close and you will see your dot on the image.
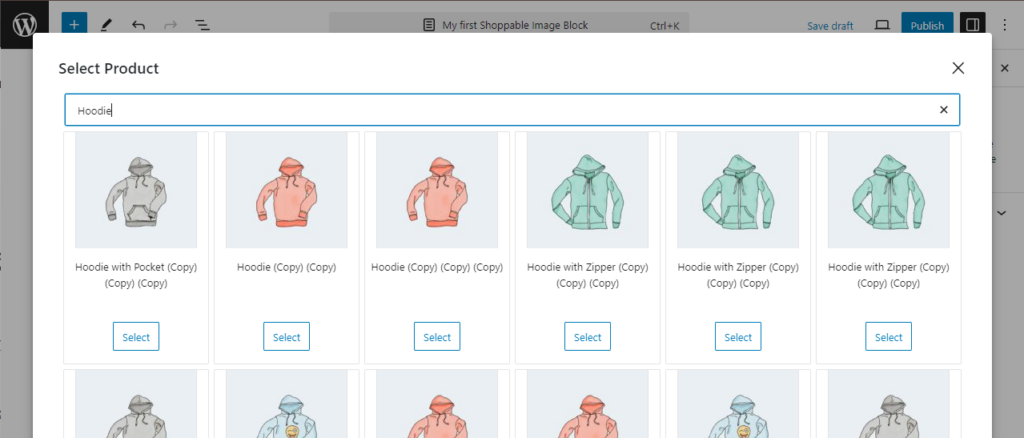
If you want to cancel out of selecting a WooCommerce product, you can click the “Cancel” button on the modal. This will close the modal, but it will not exit out of the Add Dot workflow. So you can click the image again in another place, or cancel out of the workflow.
10: Repeat steps 8 and 9 to add more dots.
Moving a dot
In the Pro version of the plugin, you can click and drag a dot to a new location.
Make sure to save your changes before leaving the editor or the changes will not appear.
Once you are ready to use your Shoppable Image in a Post or Page, publish the Shoppable Image. This will make it appear in the Shoppable Image selector block which you add to a Post or Page. See Step two for that.
Using a Shoppable Image
1: From the Post, Page or custom post type that uses the Gutenberg editor, add a new block as you normally would. Search for “Shoppable Image”, this will insert the Shoppable Image Selector block.
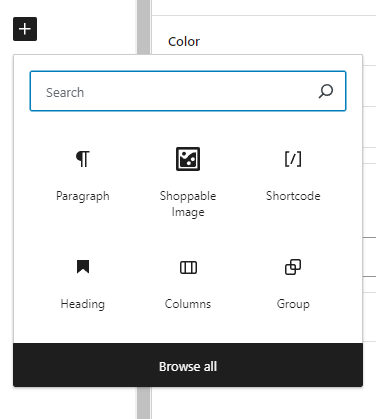
You can add multiple blocks to the same page, and you can also add your blocks to columns or complex page layouts. The Shoppable Image will respond where it is added.

2: Click “Choose a Shoppable Image”, this will pop up a modal where you can search or select any published Shoppable Image. Only published Shoppable Images will appear here.
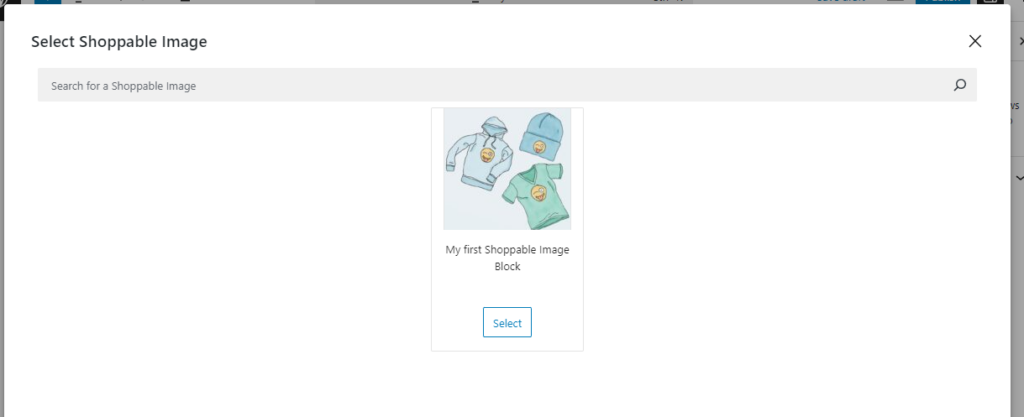
3: Select the Shoppable Image you want to use, and it will insert it with the dots and tool-tips of the linked images. Note, the WooCommerce Add to Cart options and functionality does not work in the editor, only on the published Post or Page.
Save your Post or Page and your Shoppable Image will appear.
Additional Actions
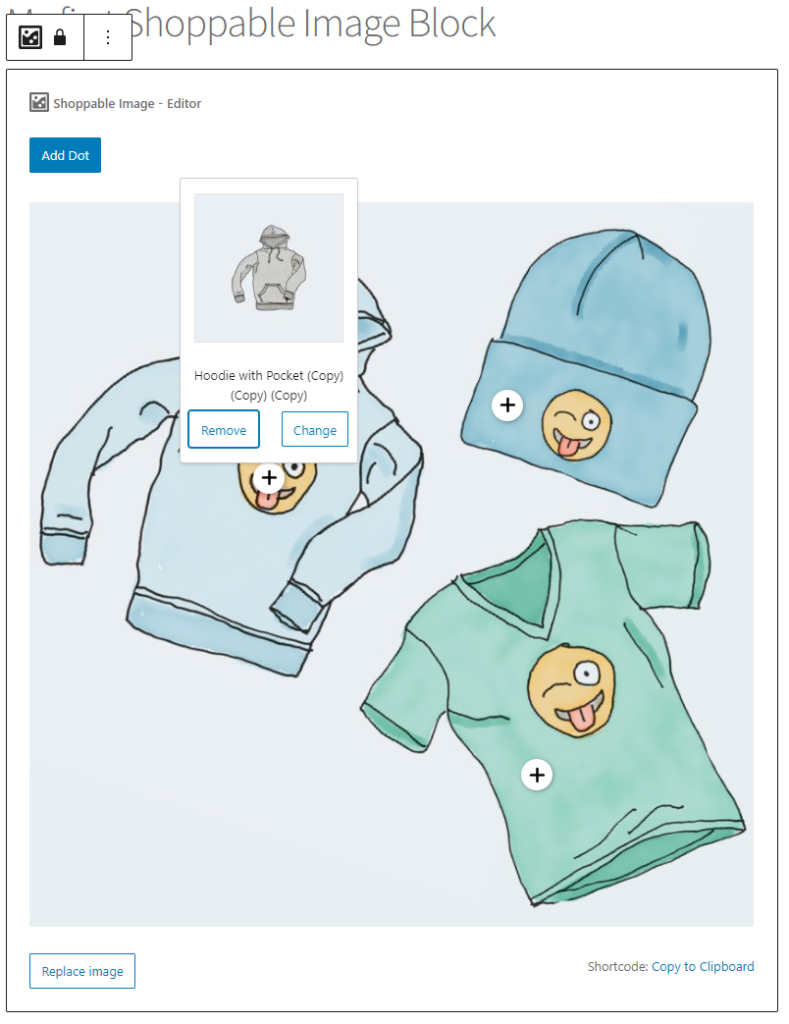
Change the dot’s linked WooCommerce product
Hover your mouse over the dot and a tool-tip will pop up. Click “Change” and that will open the select WooCommerce product modal where you can search and find a new product to link to the dot. Remember to save/update the Shoppable Image or your changes will be to saved.
Remove the dot from the image
Hover over the dot and a tool-tip will appear. Click the “Remove” button and the dot will be removed from the image. Remove to save/update the Shoppable Image or the changes will not be saved.
Change the Shoppable Image image
In the Shoppable Image Editor, if you want to change the background image you can click the “Replace Image” button below the image. This will only replace the image and not change your dots or their locations. This will pop open the WordPress Upload Media modal where you can add new media or select an existing image.
Use a Shortcode to add the Shoppable Image
Below the Shoppable Image image across from the “Replace Image” button is the “Copy to Clipboard” action. Click this an the shortcode will be copied to your clipboard which you can then paste into a shortcode widget or block.
Change dots and Linked products on a Shoppable Image being used.
Making changes to Shoppable Images already in use
All the actions above, change image, change linked product, remove dot, will apply to any Shoppable Image being used in a Post. If you have a Shoppable Image being used in several locations, just edit the Shoppable Image to change it in all places. If you need similar but different Shoppable Images for several locations, you’ll want to make different Shoppable Image posts.
Global Settings
These settings set the defaults for all dots.
Settings are located in the “Settings” link of the “Shoppable Image” menu.
There are four (4) settings options.
- Change the shape of the dot.
- Change the color of the dot.
- Change the shape of the icon in the dot.
- Change the color of the icon in the dot.
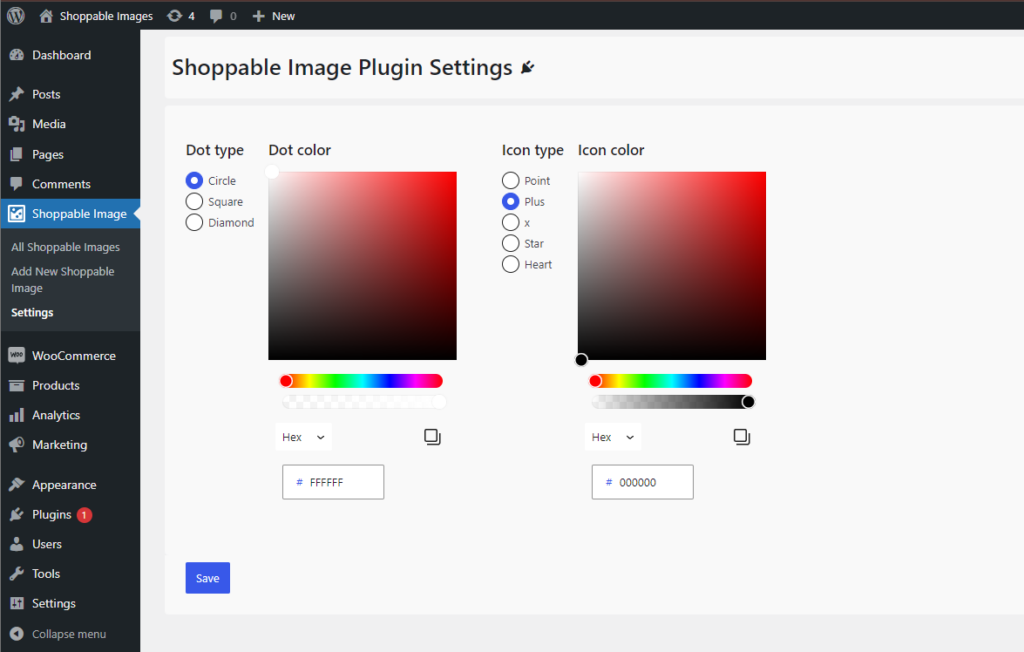
The dot styles are applied to all dots and updates will change the appearance of all existing dots.
After setting the shape and colors, use the Save button to save your changes.
Specific Dot Settings
Pro version only.
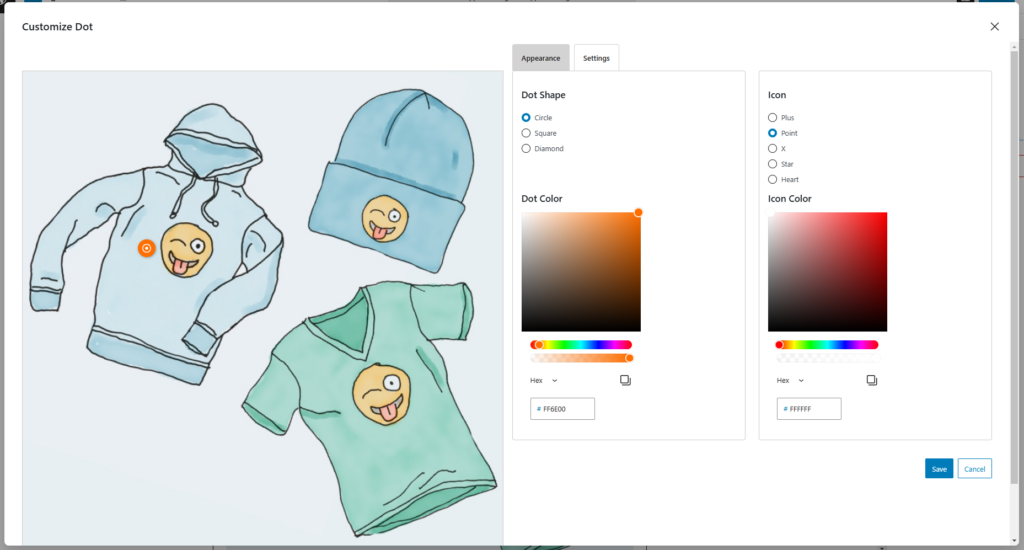
These settings target a specific dot.
With the pro version of Shoppable Images you can set the specific styles per dot.
After adding a dot, you will be presented with settings to specifically edit the dot styles. Changes these to fit your needs and save the dot.
Custom Short Description
With the Pro version of the Shoppable Images you can set a custom description that will appear in the Shoppable Image tooltip. This description defaults to the product short description but it can be customized for the tooltip. Changes here do not change the short description of the product.
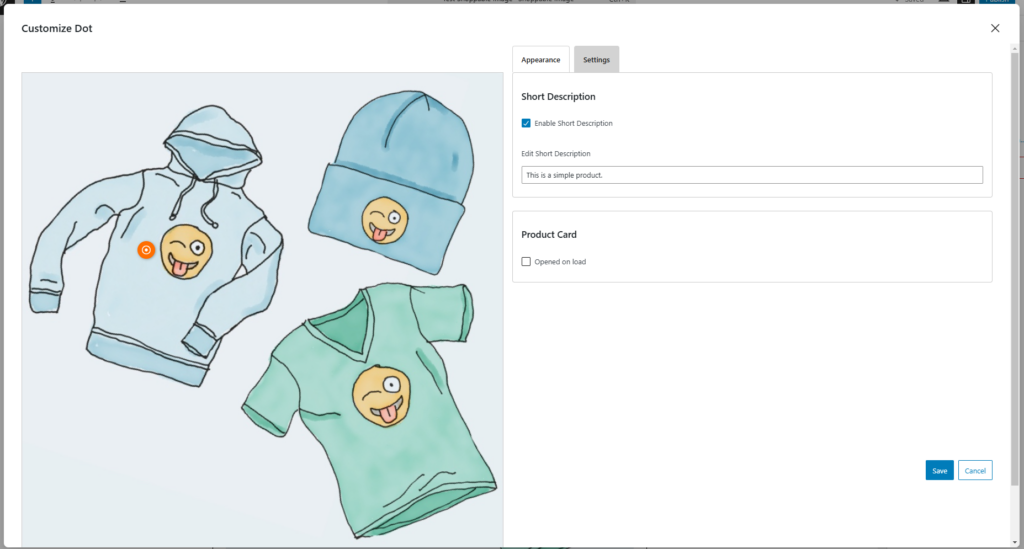
Default Open a Tooltip
In the Pro version you have the option to set a tooltip to be open by default on page load. Just check the option to true and this dot’s tooltip will load open. You can set multi tooltips to open for a Shoppable Image.

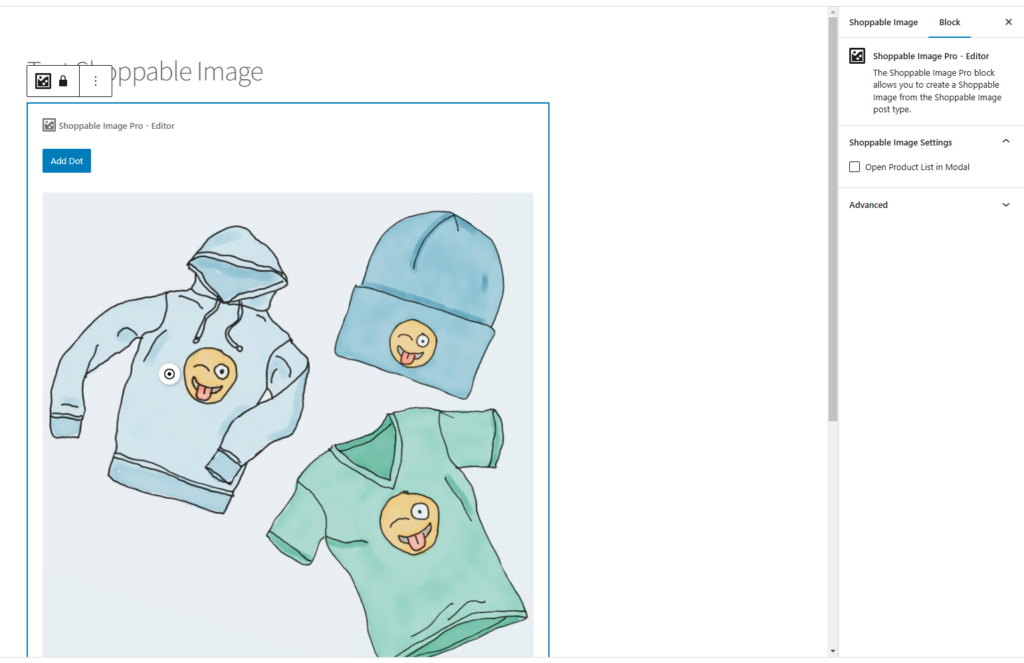
Open All Products in Modal
With the Pro version of Shoppable Images you have the option to open all products from the dots of a Shoppable Image in a modal with the user clicks on the Shoppable Image main image. This opens a modal with the main image on top and the products listed below.
Code Hooks and Filters
The all products modal allows for customization of the product list via a hook.
do_action('render_shoppable_image_product_list', $product_ids, $shoppable_image_post_id);You can also change the modal header via a filter.
apply_filters('shpimg_product_list_heading', __('Product List', 'shoppable-image'));Custom Post Type Template
With the Pro version of Shoppable Images you can replace the default shoppable_image custom post type template with your own. Just create a single-shoppable-image.php template and place it in your theme.